Welcome to an in-depth exploration of the 10 best new Microsoft Teams meeting features! As remote collaboration becomes increasingly prevalent in today’s digital landscape, Microsoft Teams continues to evolve and introduce innovative tools to enhance our video meetings. Whether you’re a seasoned Teams user or just getting started, this article will take you on a journey through the latest features that will revolutionize your virtual meetings.
In this fast-paced world, effective communication and seamless collaboration are paramount. Microsoft Teams understands this need and has introduced a range of cutting-edge features to facilitate engaging and productive meetings. From breakout rooms that enable focused discussions to improved whiteboard capabilities for real-time collaboration, these features are designed to empower teams to work together effortlessly.
Breakout Rooms
Breakout rooms in Microsoft Teams are mini-meeting rooms associated with a larger meeting. They have the same features as regular meetings, including participant audio and video feeds, chat, and screen-sharing capabilities. Breakout rooms allow smaller teams to have separate discussions or collaborate privately. Meeting organizers or presenters with breakout room manager privileges can set up breakout rooms during a meeting by clicking the Breakout Rooms icon or before a meeting by selecting Breakout Rooms> Create rooms. Breakout room managers can assign participants, rename rooms, set time limits, and perform other management tasks. Alternatively, you can set up breakout rooms before a meeting by selecting Breakout Rooms> Create rooms in the meeting invite.

Breakout rooms enable small-group discussions apart from larger Teams meetings.
Improved Whiteboard
To launch the Whiteboard app during a meeting, click the Share content icon (up arrow) at the upper right of the meeting window and select Microsoft Whiteboard.
To add the Whiteboard app to a Teams channel, open the channel and click the + icon at the top. In the “Add a tab” pane, click the Whiteboard icon, enter a name for the whiteboard, and click Save.
To add a whiteboard to a chat, open the chat window. If Whiteboard is already listed as a tab, click it to launch the app. If it’s not listed, click the + icon and follow the same steps as adding a whiteboard to a channel.

The Microsoft Whiteboard has an overhauled interface and new capabilities.
Spotlighting People
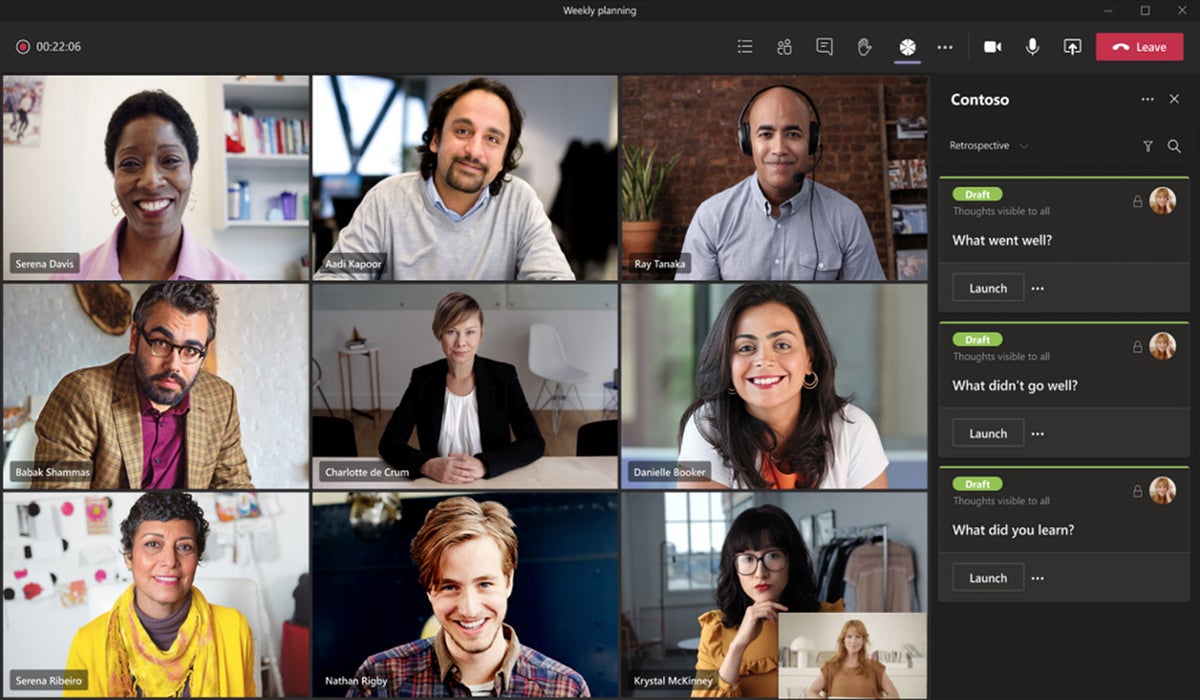
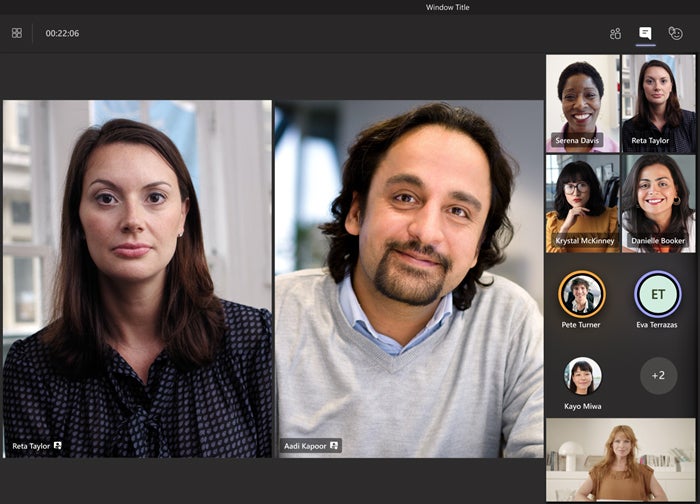
Meeting organizers and presenters in Microsoft Teams can spotlight specific participants to highlight them during a meeting. When someone is spotlighted, their video feed is displayed prominently for all participants, pinning it in a prominent position on the screen. Up to seven people can be spotlighted at a time.
To spotlight someone, right-click on their video or your own and select Spotlight from the menu. Alternatively, click the Show participants icon and right-click on a person’s name to select Spotlight.
To remove someone from the spotlight, right-click on their video and select Stop spotlighting. You can also stop spotlighting everyone from the Show participants list.
Please note that the Spotlight feature is not available in “Large Gallery” or “Together” mode. Additionally, if the meeting is being recorded, the spotlighted video will not appear as spotlighted in the final recording.

You can spotlight certain participants for everyone in the meeting
Live Transcription
Live transcriptions can help those who can’t hear well or who are not completely fluent in the language being spoken in the meeting. Anyone who arrives late to a meeting or is momentarily distracted can quickly catch up by scrolling back through the Transcript sidebar. The complete transcript is available after the meeting is over for invitees who missed the meeting or participants who want to review what was said.
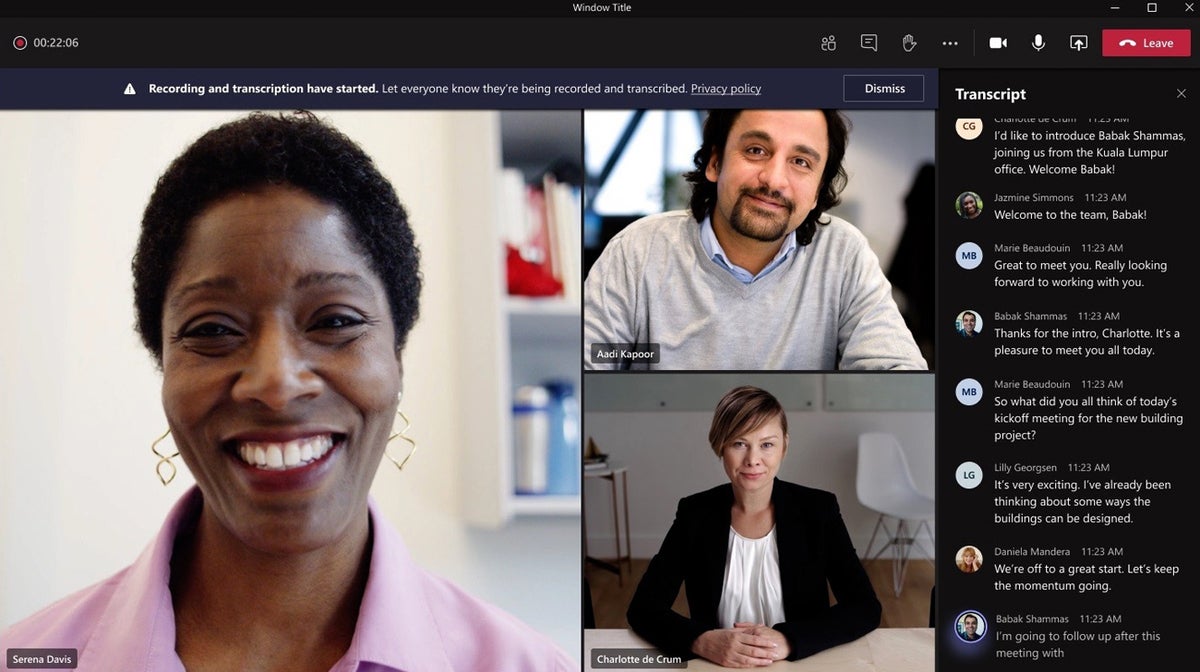
Teams offer text transcripts of recorded meetings and AI-driven text captioning. The live transcription feature combines these capabilities and provides a Transcript sidebar that displays everything said in a meeting, along with speaker attribution. To start live transcription, click the More Actions icon at the upper right of the meeting window and select Start transcription.
Alternatively, if you record a meeting (click the More actions icon and select Start recording), live transcription is automatically turned on at the same time. Meeting participants will see a notification saying that the meeting is being recorded and transcribed.
Teams currently support live transcription in 28 languages. If everyone in the meeting is speaking a language other than English, you can change the transcribed text to the one that they’re speaking. Click the three-dot icon at the top of the Transcript sidebar, select Change spoken language, select a different language, and click Confirm.
After the meeting, the transcript will be available for download in the meeting event on the calendar.

A live meeting transcript can help participants keep up with everything that’s been said in a meeting.
PowerPoint Grid View and More
Now you can present specific slides in a PowerPoint document during Microsoft Teams meetings without having to flip through all of them. Simply click the Share content icon at the upper right of the meeting window, select PowerPoint Live, and choose the desired PowerPoint document from either OneDrive or your computer.
Once the document is loaded, the currently presented slide will be displayed prominently on your screen, along with a strip of thumbnail images for easy navigation. Clicking any thumbnail will instantly take you to the corresponding slide.
In addition, there’s a Grid view icon below the presented slide. Clicking it or pressing the “G” key will arrange the slide thumbnails in a grid layout. You can click on any thumbnail to present it to meeting participants.
Attendees watching the PowerPoint Live presentation can also access the Grid view icon to jump to any slide and then click the Sync to Presenter icon to return to the current slide.
This new feature allows you to pause a PowerPoint deck and pick up where you left off later in the same meeting, which is particularly useful for breaking up long presentations with different presenters or activities.
Presenter Mode
This feature allows you to seamlessly combine your video feed with the document or image you’re sharing during a meeting in three different ways:
- Standout: This mode removes the background behind you and replaces it with the content you’re presenting, creating a visually focused experience.
- Reporter: In this mode, the content appears above your right shoulder, resembling the layout often seen in TV news broadcasts with an anchorperson onscreen.
- Side-by-side: This mode displays your video feed and the content you’re presenting side by side.
To utilize the Presenter mode in Microsoft Teams, follow these steps:
- Click the Share content (up arrow) icon located at the upper right of the meeting window.
- In the panel that opens, under the “Presenter mode” section at the top, select the icon representing your desired presenter mode.
To begin your presentation, choose an item to share from either the “Screen” or “Window” options in the panel. Please note that Presenter mode currently does not support PowerPoint presentations, but Microsoft has stated that this capability will be added in the future.
Content From Camera
Utilize the “Content from camera” feature to enhance the visibility of objects in your room, such as whiteboards, books, or paper documents, during Microsoft Teams meetings. This feature includes a special effect that slightly transparentizes your body, arm, or hand when they are in front of the object or document.
Here’s how to use the “Content from camera” feature:
- Click the Share content (up arrow) icon located at the upper right of the meeting window.
- In the panel that appears, select “Content from camera.”
- Choose from the options: Whiteboard, Document, or Video (for showcasing live action or product demos).
- In the preview window, follow the instructions to aim your device’s camera or a connected external camera at the whiteboard or document.
- Once the whiteboard or document comes into focus, this feature will enhance the clarity of the text and images on it.
- Click the Share button to present the enhanced content to the participants in your meeting.
Call Quality Monitor
If the audio or video of your meeting is spotty or lacking, you can check on what may be the cause. At the top of your call window, click the three-dot More Actions icon. From the menu that opens, click Call Health. A sidebar will appear along the right showing the technical statuses of your network, audio, video, and screen sharing. For details on how to read the call health stats, see Microsoft’s support page on monitoring call and meeting quality in Teams.
Keyboard Shortcuts for Virtual Hand Raising
Microsoft Teams introduced the “raise hand” feature, allowing meeting participants to indicate that they have a question or comment without interrupting the ongoing speaker. In 2021, Microsoft implemented a keyboard shortcut to expedite this process.
To raise or lower your hand and view others who have raised theirs, simply press Ctrl-Shift-K on Windows or ⌘-Shift-K on macOS. For individuals using screen readers, you can have the list of participants raising their hands read aloud by clicking Ctrl-Shift-L on Windows or ⌘-Shift-L on macOS. To discover additional keyboard shortcuts for Microsoft Teams, please refer to the provided link.
Meeting Recaps
Once a meeting concludes, you can access a comprehensive summary of the meeting within the automatically generated chat group. To view this summary, follow these steps:
1. Open the Teams app and click on the Chat icon located in the left sidebar.
2. In the second column, locate the title of the completed meeting and click on it.
Within the recap window, you will find various details from the meeting, including the chat conversation, any notes that were taken, and files that were shared. If a video recording and transcription were created during the meeting, they will also be accessible from this window.
If you are the organizer of the meeting, an attendance report will be included in the recap. You can download this report as a .csv file for further reference and analysis.


